Step 1
The booking windows, in the order they open
Use our Booking timeline builder: we built it for exactly this step
You do not have to work these windows out by hand, or convert them from Japan time yourself.
- Put in your first park date and your hotel check-in date, how many park days you are planning, and where you are staying.
- Tap Build my timeline.
- The builder lines up every window for your trip in the order the windows open, hotels, tickets and restaurants, each one in Japan time and in your own time zone, with a live countdown, and a calendar file you can save for each one.
It runs entirely in your browser: nothing is collected, stored or sent.
Build my timeline
- 1
~5–6 months before
Vacation Packages: an announced watch window, never a promised date.
- 2
4 months before, 11:00 JST
Disney hotels: every room for your check-in date drops at once.
- 3
2 months before, 14:00 JST
Park tickets: sold daily, for the same date two months later.
- 4
1 month before, 10:00 JST
Priority Seating restaurants: one booking per meal.
- 5
On the day, 09:00 JST
Same-day restaurant bookings: and your in-app passes once you scan in.
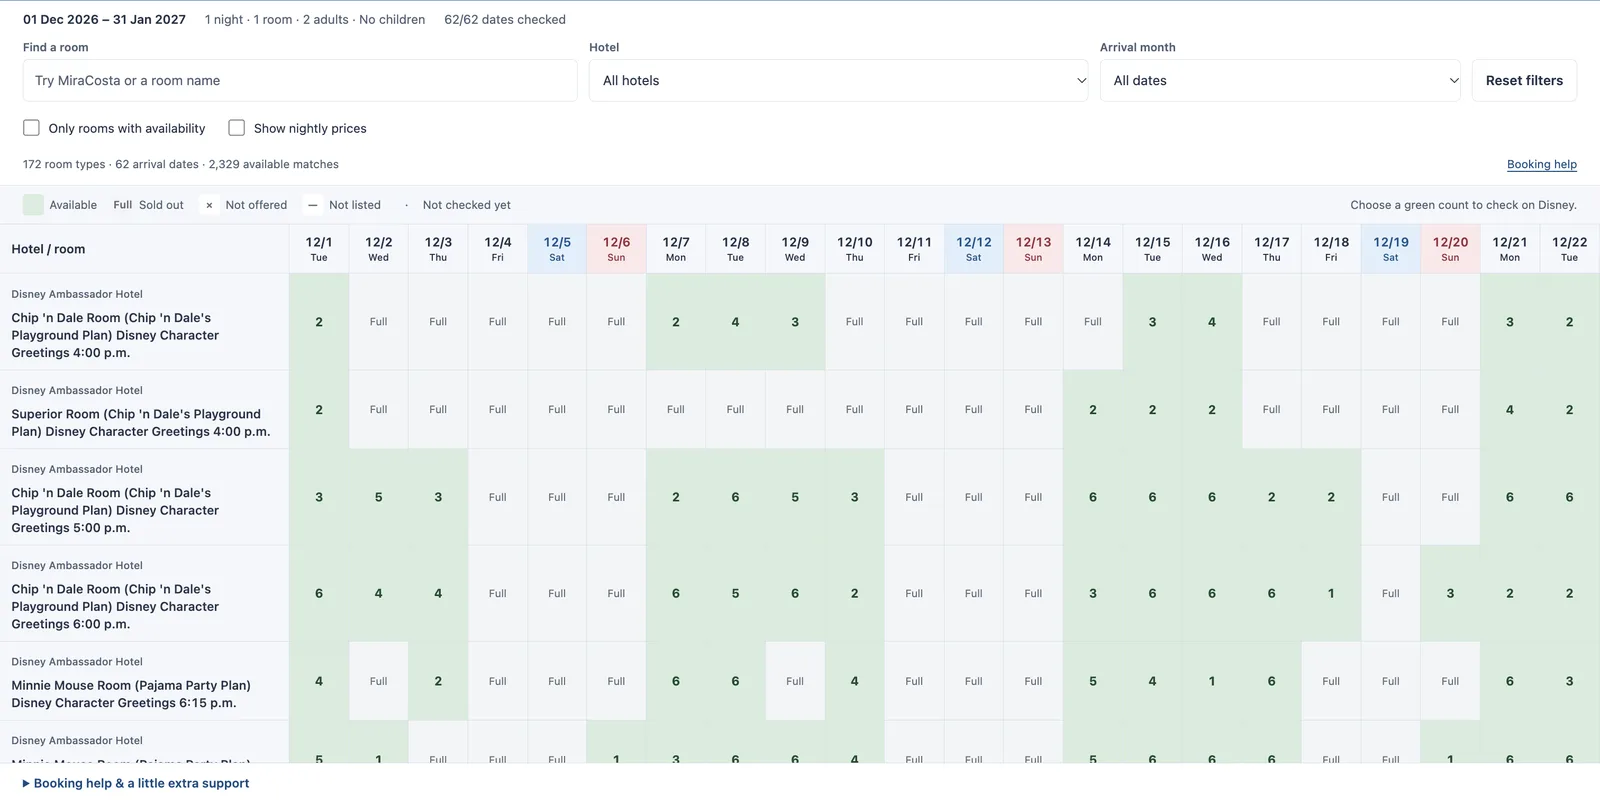
- Disney hotels: 11:00 Japan time, exactly four months before check in. Every room for your check in date is released at that one moment, for a stay of up to 5 nights, and the most wanted hotels can sell out within minutes of the drop.
- Park tickets: tickets are sold daily at 14:00 Japan time for admissions on the same date two months later. Your date opens on its own day, two months before you visit, so be ready then, not that morning. If that date does not exist in the month two months before, tickets are available at 14:00 Japan time on the first day of the following month.
- Priority Seating restaurants: 10:00 Japan time, one month before the day you want to eat. Advance booking runs until 20:59 Japan time the day before, the show restaurants are prepaid in advance, and one booking per meal, breakfast, lunch and dinner, can be held in advance. If a table is gone, same day bookings open at 09:00 Japan time on the day itself.
One second chance to write down now: guests report that hotel rooms gone at the drop often come back roughly 40 minutes later, around 11:40 Japan time, when abandoned and timed out bookings are released. It is a reported pattern, not a guarantee, so treat it as a moment to be ready for, never a promise.
Step 2
Set up the app at home, while nobody is waiting
Why we stress this: be ready to buy the moment you are through the gate
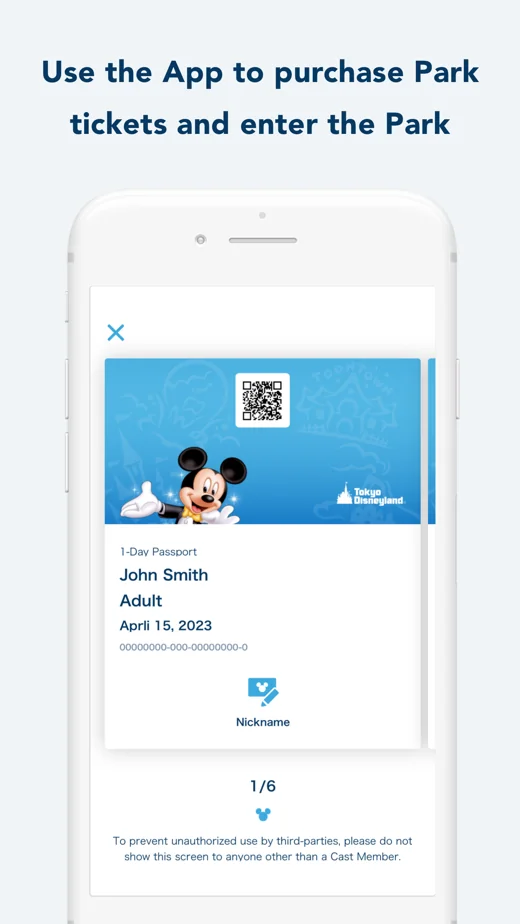
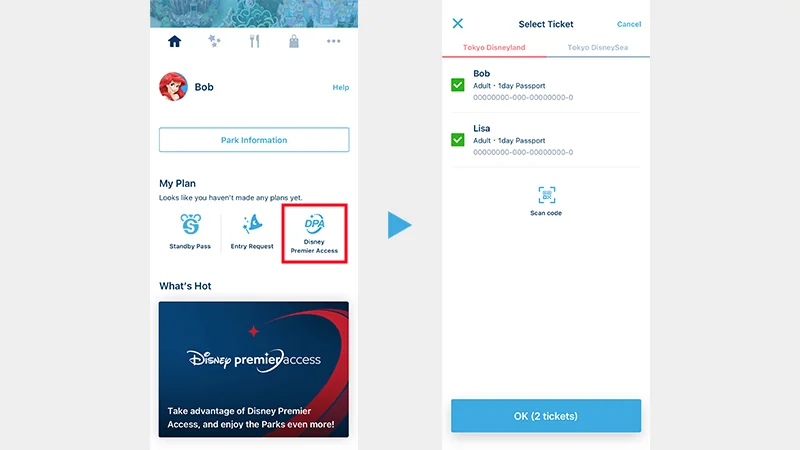
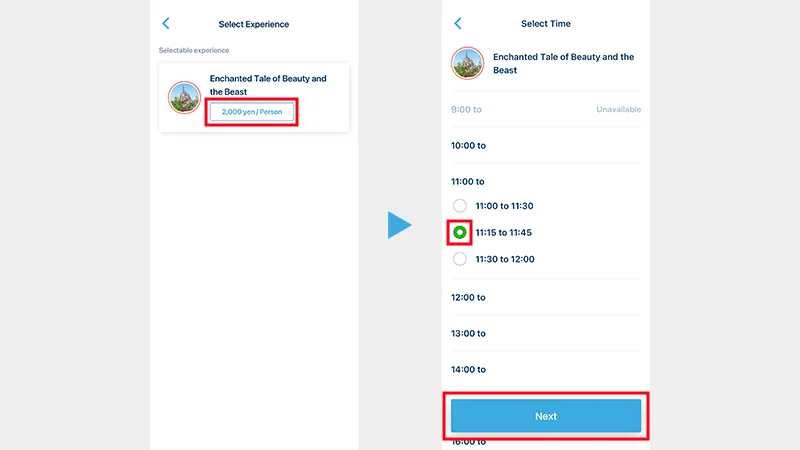
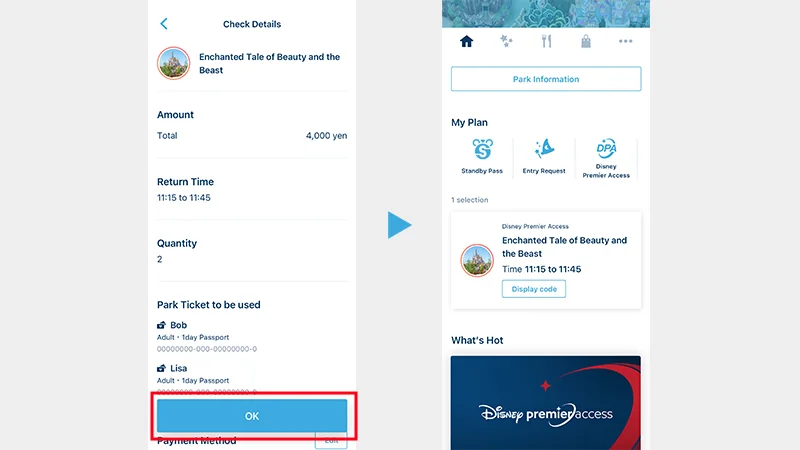
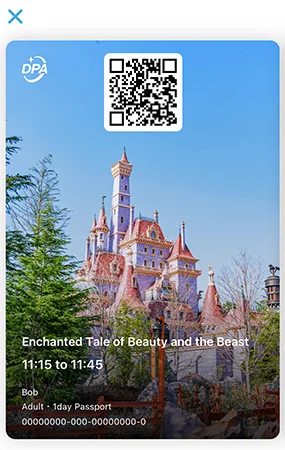
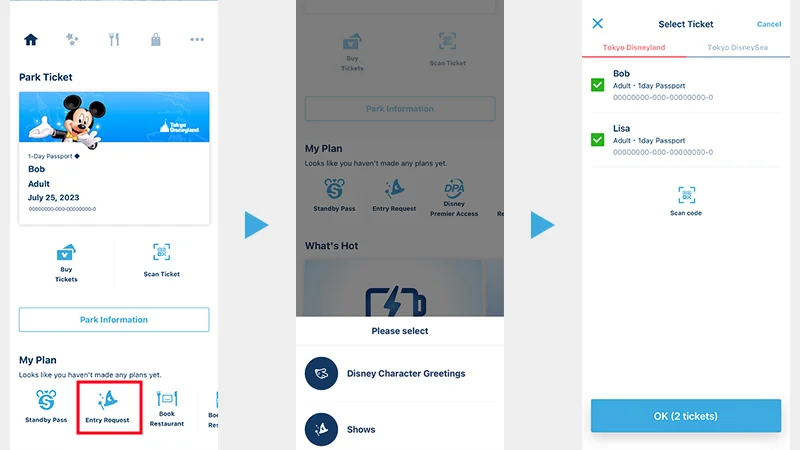
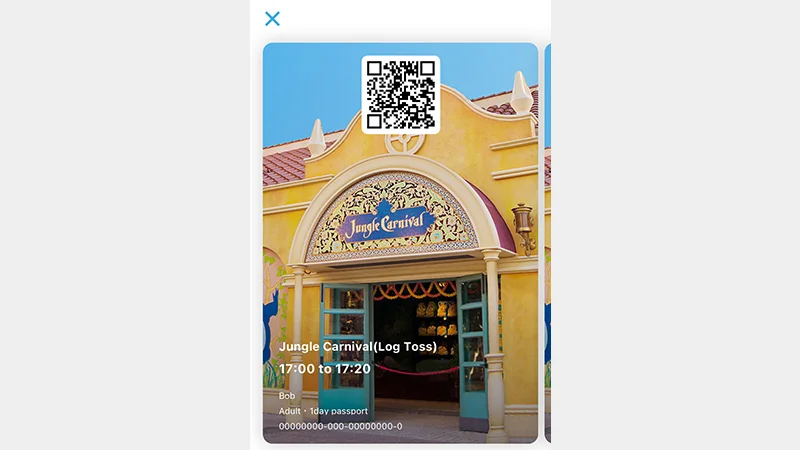
Almost everything worth grabbing opens the second you scan in: your first Premier Access, the Entry Request lotteries, Standby Passes, and the best times go in the first minutes. If you are still typing a card number, or fighting a bank approval, while you stand in the hub, those minutes are gone. Set the app and your card up at home, so buying your tickets is a few taps, and your bank has already seen a Tokyo Disney transaction before the gate.
Get your card into the app before you travel. Start buying a park ticket in the app: tap through to buy a ticket and you will reach the page where you enter your card number. Enter your card details there. If you are not ready to buy, stop before you confirm the purchase: do not confirm it. When we tested this ourselves, the details were still there when we came back to the ticket purchase. Be ready to type the card once more for your first purchase inside the park, though: Disney's own FAQ says a card for Premier Access and Mobile Order is registered only when a payment in the park completes, and the card used for park tickets dated on or after 1 April 2023 does not carry over to those services. One exception: if you have already bought a Disney hotel, a Vacation Package, a Guided Tour or Bibbidi Bobbidi Boutique online, that card may already be displayed when you next pay in the app.
Better still, if you still need your tickets, buy them through the app for real. Some banks flag a Tokyo Disney transaction as suspicious, so tell your bank in advance that you will be making this purchase, That way your card is one your bank has already let through once, not one it stops at the gate.
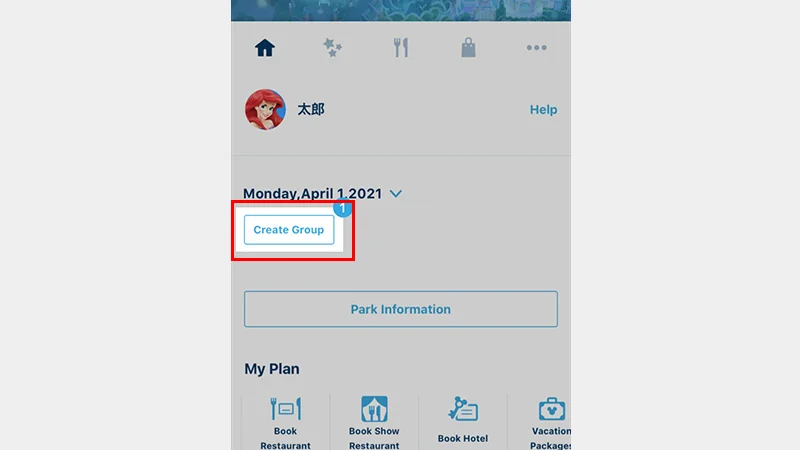
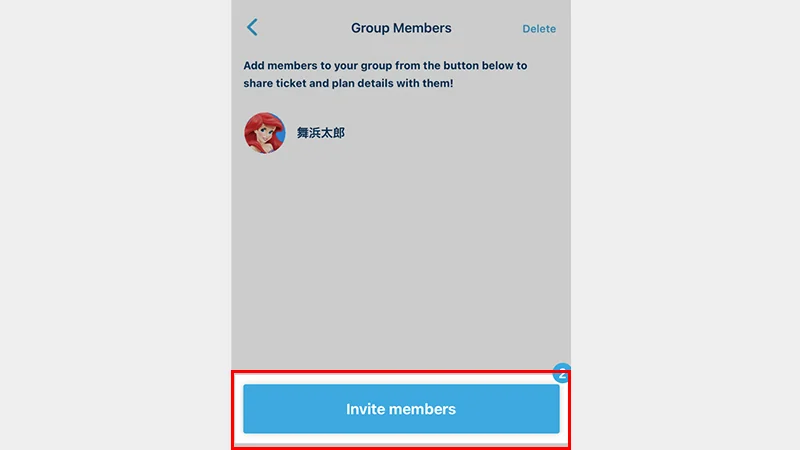
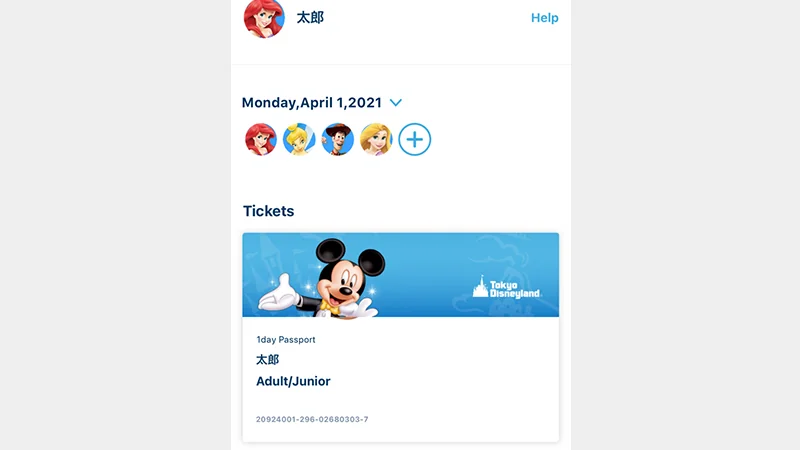
This is the homework we nag everyone about, because it is so much kinder done at your kitchen table. Set up the app at home: one MyDisney account for each adult, every ticket on the right phone, and one Create Group for the whole party. Passes are booked per group in the app, and the group features let one person handle the passes and the Entry Request lotteries for the whole party.
Doing this at the gate, on hotel Wi-Fi, with a queue behind you, is how days start badly. At home, with tea, it takes minutes, and on the day you will thank yourselves for it.
Step 3
What to eat: decide the shape of it now
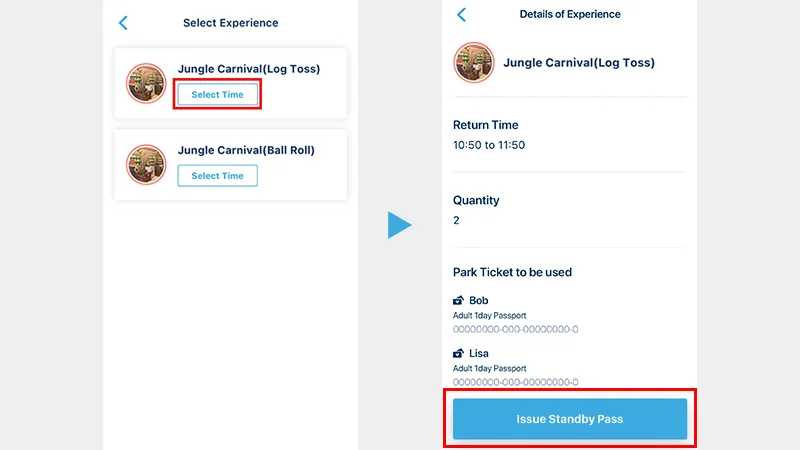
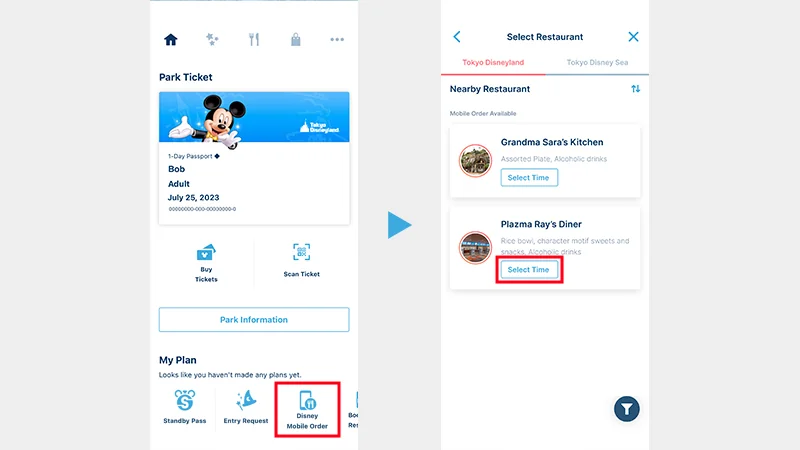
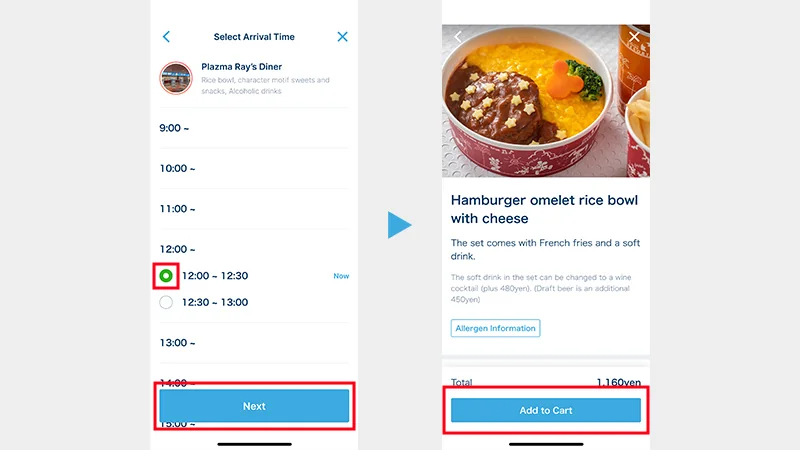
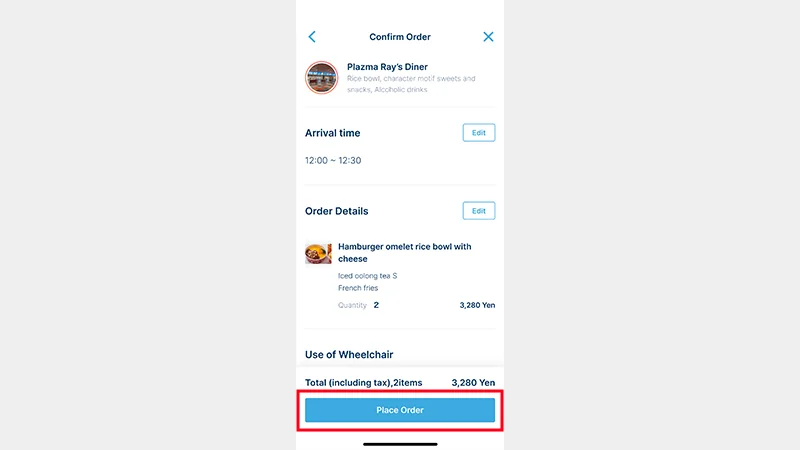
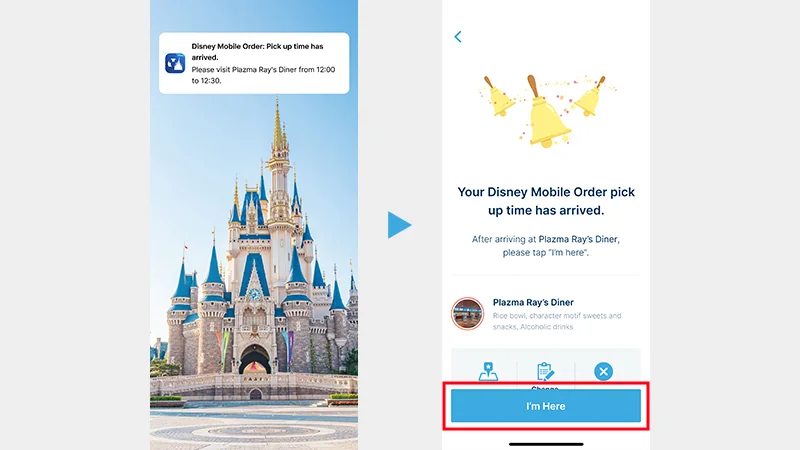
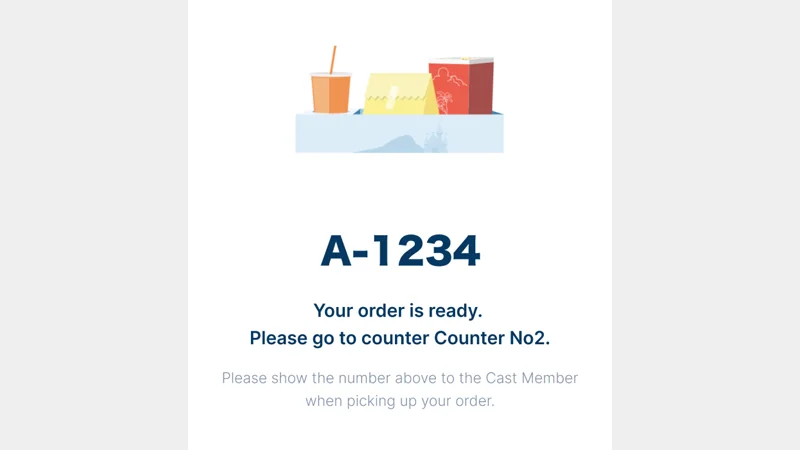
Table service meals are the Priority Seating bookings in Step 1, and for everything else, build one small habit now: order lunch by mobile order around 10:30, before the noon rush. Better still, place the order soon after you enter the park to hold the pickup window you want, because the slot is the scarce thing, not the menu.
Nothing is locked in until you tap "I'm Here": items, quantities and the arrival time can all be changed before that point, and you can order from another restaurant afterwards. Not locked in is not the same as not paid, though: with a debit or prepaid card, or with Alipay, you are charged when the order is submitted. Mobile Order reserves your food, not a table, so on a crowded day we send someone ahead to find seats while the order is being prepared.
If anyone in your party eats with a restriction, this is where the real planning happens, restaurant by restaurant and dish by dish, because kitchens cannot modify dishes. Start on our dietary page, not in a queue when you are already hungry.
Step 4
Money and phones, sorted before you fly
Almost everything in the parks runs through the official app, so a working phone with data is not a nice extra here, it is the plan. Before you travel, choose between an eSIM and a pocket Wi-Fi, set it up at home, and make sure everyone who needs the app has a way to stay connected through a long park day.
For the trains, a Suica on your phone makes the ride to Maihama simple: add it before you arrive, top it up as you go, and tap in and out without queueing for tickets. And carry some yen in cash as well. Cards and phones cover most of a park day, but cash is the backup that still works when a battery dies, and it is handy for small purchases along the way.
For the park days themselves, budget with the real numbers in front of you: an adult 1-Day Passport costs 8,900 to 12,400 yen depending on the date, and Disney Premier Access costs 1,000 to 2,500 yen per ride, per person. Prices change, and no price is guaranteed.
Add up the Premier Access part with our calculator: we built it for this
Disney publishes every Premier Access price one ride at a time, and never adds them up for you. Our Premier Access calculator does the adding up: tick the rides, shows and parades you would actually buy, tell it how many of you are paying and how many days you have in each park, and it gives you the total for the whole trip, split by park, and lines your picks up in the order we would buy them in the park, because the popular passes sell out and the order matters.
It runs entirely in your browser: nothing is collected, stored or sent.
Add up my passes
Step 5
Getting to the resort
Both parks sit beside Maihama Station on the JR Keiyo and Musashino lines, about 15 minutes from Tokyo Station. Build the transfer inside Tokyo Station into that time: the Keiyo Line platforms sit at the far end of the station, a 5 to 10 minute underground walk from the Shinkansen and Yamanote side, which catches out anyone with luggage, children or a tight connection. From central Tokyo, we allow about an hour door to gate.
The Ikspiari shopping and dining complex is right beside the station, handy for a meal before or after the park. Inside the resort, the Disney Resort Line monorail loops the parks and the Disney hotels, with stations at Tokyo Disneyland, Tokyo DisneySea and Bayside for most Disney hotels.
Coming straight from the airport? From Narita, allow about 60 to 90 minutes to the resort by direct airport bus, traffic depending; the train route runs via Tokyo Station and the Keiyo Line walk above. From Haneda, allow about 45 to 60 minutes by direct bus, or by train via Tokyo Station. And if the bags are the problem, the luggage delivery counters at both airports can send them on to your hotel, usually arriving the next day, so your first hours in Tokyo do not have to be spent dragging suitcases.
Step 6
First packing thoughts, and the height check
Start a packing list now, while it is still a gentle list and not a midnight scramble. The basics never really change: comfortable shoes, a portable battery and charging cable, a rain layer, and in summer a hat and sunscreen, in winter a warm layer for the harbour wind.
But here is the part a generic list cannot do for you: the right list depends on your dates, your parks and your children, and one small check here can quietly change your whole day.
Measure your children at home, and check their heights against the ride requirements now, not at the gate. A child who is too small for a headliner is a disappointment you can soften at home. Finding out in front of the Cast Member, with the ride right there and the rest of the party ready to board, is the hard version of the same news, and by then you may already have built your morning, and your Premier Access money, around a ride they cannot do.
That is exactly the check we do for you in our $149 checked plan. Send us your must-do list and your children's heights, and we go through it ride by ride: what each child can and cannot ride, where Rider Switch (next step) saves the day instead of splitting the party, what to ride instead at that moment so nobody is standing watching, and which passes are not worth your money for your family. We build the packing list for your dates, too: the weather you are actually travelling into, not a list written for somebody else's trip.
You can do all of that yourselves, ride by ride and forecast by forecast. It is the job most families tell us they wish they had handed over.
Step 7
Rider Switch and strollers: the family basics
And if the height check in Step 6 says your child is too small for a ride you love, you are not done: you just need this.
Two systems save family days, and both surprise people by existing.
Rider Switch lets the adults take turns. If your child does not meet a ride's boarding requirements, and there are at least two adults in your party, neither of you has to miss it. Before anyone joins the queue, have your park tickets ready and tell the Cast Member at the entrance that you want to use Rider Switch. One adult queues and rides as usual, while the other stays with your child. The Cast Member sets a return time on the second adult's ticket; when that time comes, you swap places, tell the Cast Member at the entrance, show your ticket, and you are guided in with a much shorter wait, instead of queueing from the start again. It works at every attraction with boarding requirements. Using Premier Access for the ride? Buy it for everyone who will ride, arrive together at your time, and tell the Cast Member the same thing.
Strollers are easy, too. You can rent one inside the park for ¥1,000 a day, with no reservation: a reclining stroller with a sunshade, for a child who can sit up on their own, from 7 months old, up to 100 cm and 15 kg. And both parks have Baby Centers, with space to change and feed your baby in peace. Their locations are on the official park maps linked at the foot of this page.









 Some guests must be accompanied. Guests with visual, mental, intellectual or developmental disabilities, and guests with mobility disabilities who need transport assistance, must be accompanied by an able-bodied member of their party when using this service.